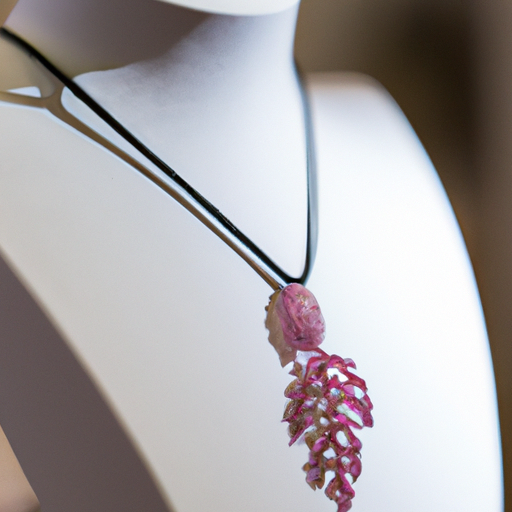
“Create Beautiful Resin Pendants With These Easy Steps | How To Make A Resin Pendant”

Creating Unique Resin Pendants: A Step-by-Step Guide
Resin pendants are a beautiful and versatile piece of jewelry that can easily be made at home. With just a few simple steps, you can create a stunning resin pendant that is sure to be a conversation starter. In this article, we will discuss the materials and techniques needed to make your own resin pendant. So, grab your supplies and let's dive into the world of resin art.
What You Will Need
To make a resin pendant, you will need a few supplies that are easy to find at your local craft store or online. Here is a list of the things you will need to get started:
- Epoxy resin
- Hardener
- Pigment or dye (optional)
- Molds (silicone or plastic)
- Measuring cups and stir sticks
- Glue or adhesive
- Drill or sandpaper (for finishing)
- Jewelry findings (such as bails or jump rings)
The Process
Now that you have your supplies ready, it's time to start creating your resin pendant. Follow these easy steps for a successful outcome:
1. Prepare the Resin
The first step is to mix your resin and hardener together according to the manufacturer's instructions. Make sure to measure carefully and mix thoroughly to avoid any lumps or bubbles. If desired, you can also add a few drops of pigment or dye to create a custom color for your pendant.
2. Pour into Mold
Once your resin is mixed, pour it into your chosen mold. Silicone molds are the most commonly used for resin jewelry making, but you can also use plastic molds or even objects around your home as a mold. Make sure to pour the resin all the way to the top of the mold to avoid any gaps or imperfections.
3. Pop Any Bubbles
After pouring your resin, you may notice some bubbles on the surface. Use a heat gun, hairdryer, or toothpick to gently pop any bubbles and smooth out the surface of your resin.
4. Let It Cure
The curing time for resin can vary, so make sure to check the instructions on your resin for the recommended curing time. Keep the mold in a warm and dust-free area for the resin to cure properly. After the recommended time has passed, check the resin to see if it is fully cured. If it is still sticky or flexible, it needs more time to cure.
5. Remove from Mold
Once your resin is fully cured, it's time to remove it from the mold. Depending on the type of mold you used, this may be as simple as popping it out or using a release agent. If using a plastic mold, you may need to cut or break the mold to remove the pendant.
6. Sand and Polish
At this point, you may notice that your resin pendant has some rough or uneven edges. This can easily be fixed by using sandpaper to smooth out any imperfections. You can also use a polishing compound to give your pendant a nice shine.
7. Add Jewelry Findings
To turn your resin pendant into a piece of jewelry, you will need to add findings such as bails or jump rings. Using a strong adhesive or glue, attach your finding to the back of the pendant and let it dry completely before wearing.
FAQs
Q: Can I use any type of resin for making pendants?
Yes, you can use any type of epoxy resin for making pendants. Just make sure to follow the manufacturer's instructions for the best results.
Q: Can I use regular paint to add color to my resin?
No, regular paint will not mix well with resin and could ruin your pendant. Instead, use pigments or dyes specifically made for resin.
Q: Can I add other objects or materials to my resin pendant?
Absolutely! You can add glitter, beads, dried flowers, or any other small items to your resin before pouring it into the mold to create a unique and personalized pendant.
Key Takeaways
- Mix the resin and hardener carefully and thoroughly.
- Choose silicone or plastic molds for best results.
- Use a heat gun or toothpick to pop bubbles and smooth out the surface.
- Let the resin cure for the recommended time before removing from the mold.
- Use sandpaper and a polishing compound for a smooth finish.
- Add findings and let dry before wearing your beautiful resin pendant.
Conclusion
Making resin pendants is a fun and creative activity that anyone can do. With just a few supplies and easy steps, you can create a stunning resin pendant that is unique to you. So, gather your materials and let your imagination run wild as you create one-of-a-kind pieces of jewelry. With a little practice, you will have a collection of beautiful resin pendants to wear and show off to your friends and family.

